


In this tutorial, we will discuss how using Foundry we can develop a Smart Contract, write tests for it and deploy our Smart Contract to the blockchain using thirdweb deploy.
Tools and tech stack we'll be using:
- Solidity
- Foundry
- Thirdweb Deploy
Note: Refer to this repo for the code reference.
Why Foundry?
Hardhat is definitely a nice Ethereum Development Environment but Foundry has some more cool benefits to offer.
- Unlike Hardhat, Foundry allows us to write tests as well as scripts in Solidity
- Foundry comes with the Forge Standard library, which allows using
Dappsys Testto assert values. - We can simply log values using
emit_log(string),emit_int(int_value),emit_uint(uint_value),emit_address(address_value), etc. to log values of different data types - To get more detailed information on the tests, we can simply use the
-vflag after the test command. More the number ofvwill give us more detailed info. Example:forge test -vvv. We can add up to fivevflags. - We can mock a user (or we can say an account) using
.prankand.startPrank. - We can set nounce, block number, and timestamp for an account.
- Foundry gives us the detailed gas report for our tests by running the below command.
forge test --gas-report - Foundry provides us Fuzzing that allows us to define parameters for our test function and it will populate those parameters values on runtime
Why thirdweb deploy?
- Thirdweb deploy provides us a
thirdweb-cliwhich allows deploying our Smart Contract to the blockchain without using our account's bare private key. - After deploying the contract, it provides us a nice dashboard to interact with the deployed contract.
- It comes with some of the standard pre-built contracts like ERC-20, ERC-721, etc. so that we can directly deploy and use it from their dashboard.
- It supports deployment on multiple chains.
- It has powerful SDKs for our smart contracts with support for many languages and frameworks.
Getting Started
To get started, we first need to install the foundry. Follow their docs here to install and start running foundry locally.
Once you have foundry up and running locally, create a new project by running the following command in your terminal and then cd into the project directory. For this tutorial, I'm naming my project learn-foundry, you can name it anything you want.
forge init learn-foundry
cd learn-foundry
You should see the following output in your terminal

Let's understand what the project structure of this newly created project looks like.
$ tree . -d -L 1
.
├── lib
├── src
└── test

3 directories
The starter kit consists of Forge Standard Library pre-installed. This is the preferred testing library used for Foundry projects. Additionally, the template also comes with an empty starter contract and a simple test.
Let's write our own simple contract and test for it. For that open this project in your code editor and navigate to the Contract.sol file in the src folder under your root directory. Paste the below code in your Contract.sol file. For this tutorial, we'll be using a simple Contract that keeps track of a count and allows us to increment, decrement and get the count value.
// SPDX-License-Identifier: UNLICENSED
pragma solidity ^0.8.13;

contract CountContract {
  uint public count;

  constructor (uint _count) {
    count = _count;
  }

  function setCount (uint _count) public {
    count = _count;
  }

  function increment() public {
    count++;
  }

  function decrement() public {
    count--;
  }
}
Explanation of the Contract
I've added the constructor which will be executed while deploying the contract and in this function, I'm initializing the value of our count variable by taking input from the user.
Following that, setCount allows us to set the value of our Count variable. Likewise, the increment and decrement functions increase and decrease the value of our count variable.
Writing tests
As we have our Contract ready, navigate to the Contract.t.sol file into the test folder, and let's write tests for our contract. We already have the ContractTest contract initiated by the foundry, inside that contract paste the below code.
// SPDX-License-Identifier: UNLICENSED
pragma solidity ^0.8.13;

import "forge-std/Test.sol";
import "src/Contract.sol";

contract ContractTest is Test {
    CountContract countContract;
    function setUp() public {
        countContract = new CountContract(10);
    }

    function testIncrement() public {
        countContract.increment();
        assertEq(countContract.count(), 11);
    }

    function testDecrement() public {
        countContract.decrement();
        assertEq(countContract.count(), 9);
    }

    function testSetCount() public {
        countContract.setCount(20);
        assertEq(countContract.count(), 20);
    }
}
Explanation of the ContractTest contract
In the first line of the contract, we are defining a variable countContract of type CountContract.
After that, we have defined the setUp function which is an optional function invoked before each test case is run. In this, we're creating a new instance of our Smart Contract CountContract and passing 10 as an argument. Thus, we are initializing our count variable in our smart contract with the value of 10.
After that, we have the testIncrement function in which we are testing the increment of our count variable. Here, we are asserting the value using the assertEq function which we're getting from Forge's standard Test.sol.
Likewise, we have testDecrement and testSetCount that tests decrement and setCount respectively. We have used CountContract in our tests, so we also need to import it by adding the following import statement above our test contract.
import "src/Contract.sol";
Note: Any functions prefixed with
testis run as test cases.
Now, let's run our tests and see if our contract works as expected or not.
forge test
You should see the following output in your terminal

Deployment
As our tests are passed let's deploy our Smart Contract on the Rinkeby test net. For deployment, we are going to use thirdweb-cli from thirdweb deploy. For that, run the following command to detect contracts or extensions in our project.
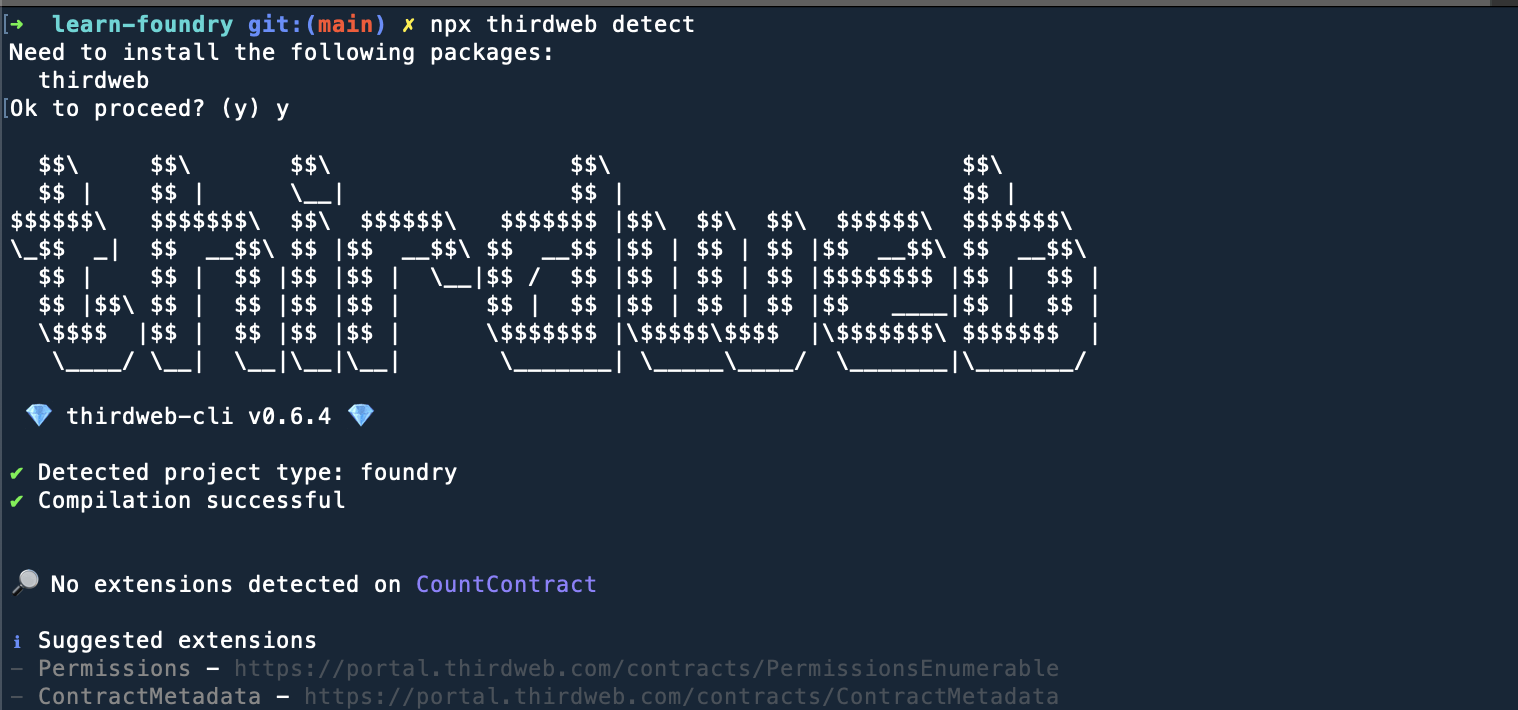
npx thirdweb detect
Allow it to install the thirdweb package locally when prompted. You should see the following output on your terminal
We have everything set up by now, so let's deploy our Smart Contract by running the following command.
npx thirdweb deploy
This command will compile our Smart Contract, upload the result and will open a thirdweb dashboard in your browser as shown below. If it doesn't open, then manually open the link from the terminal.
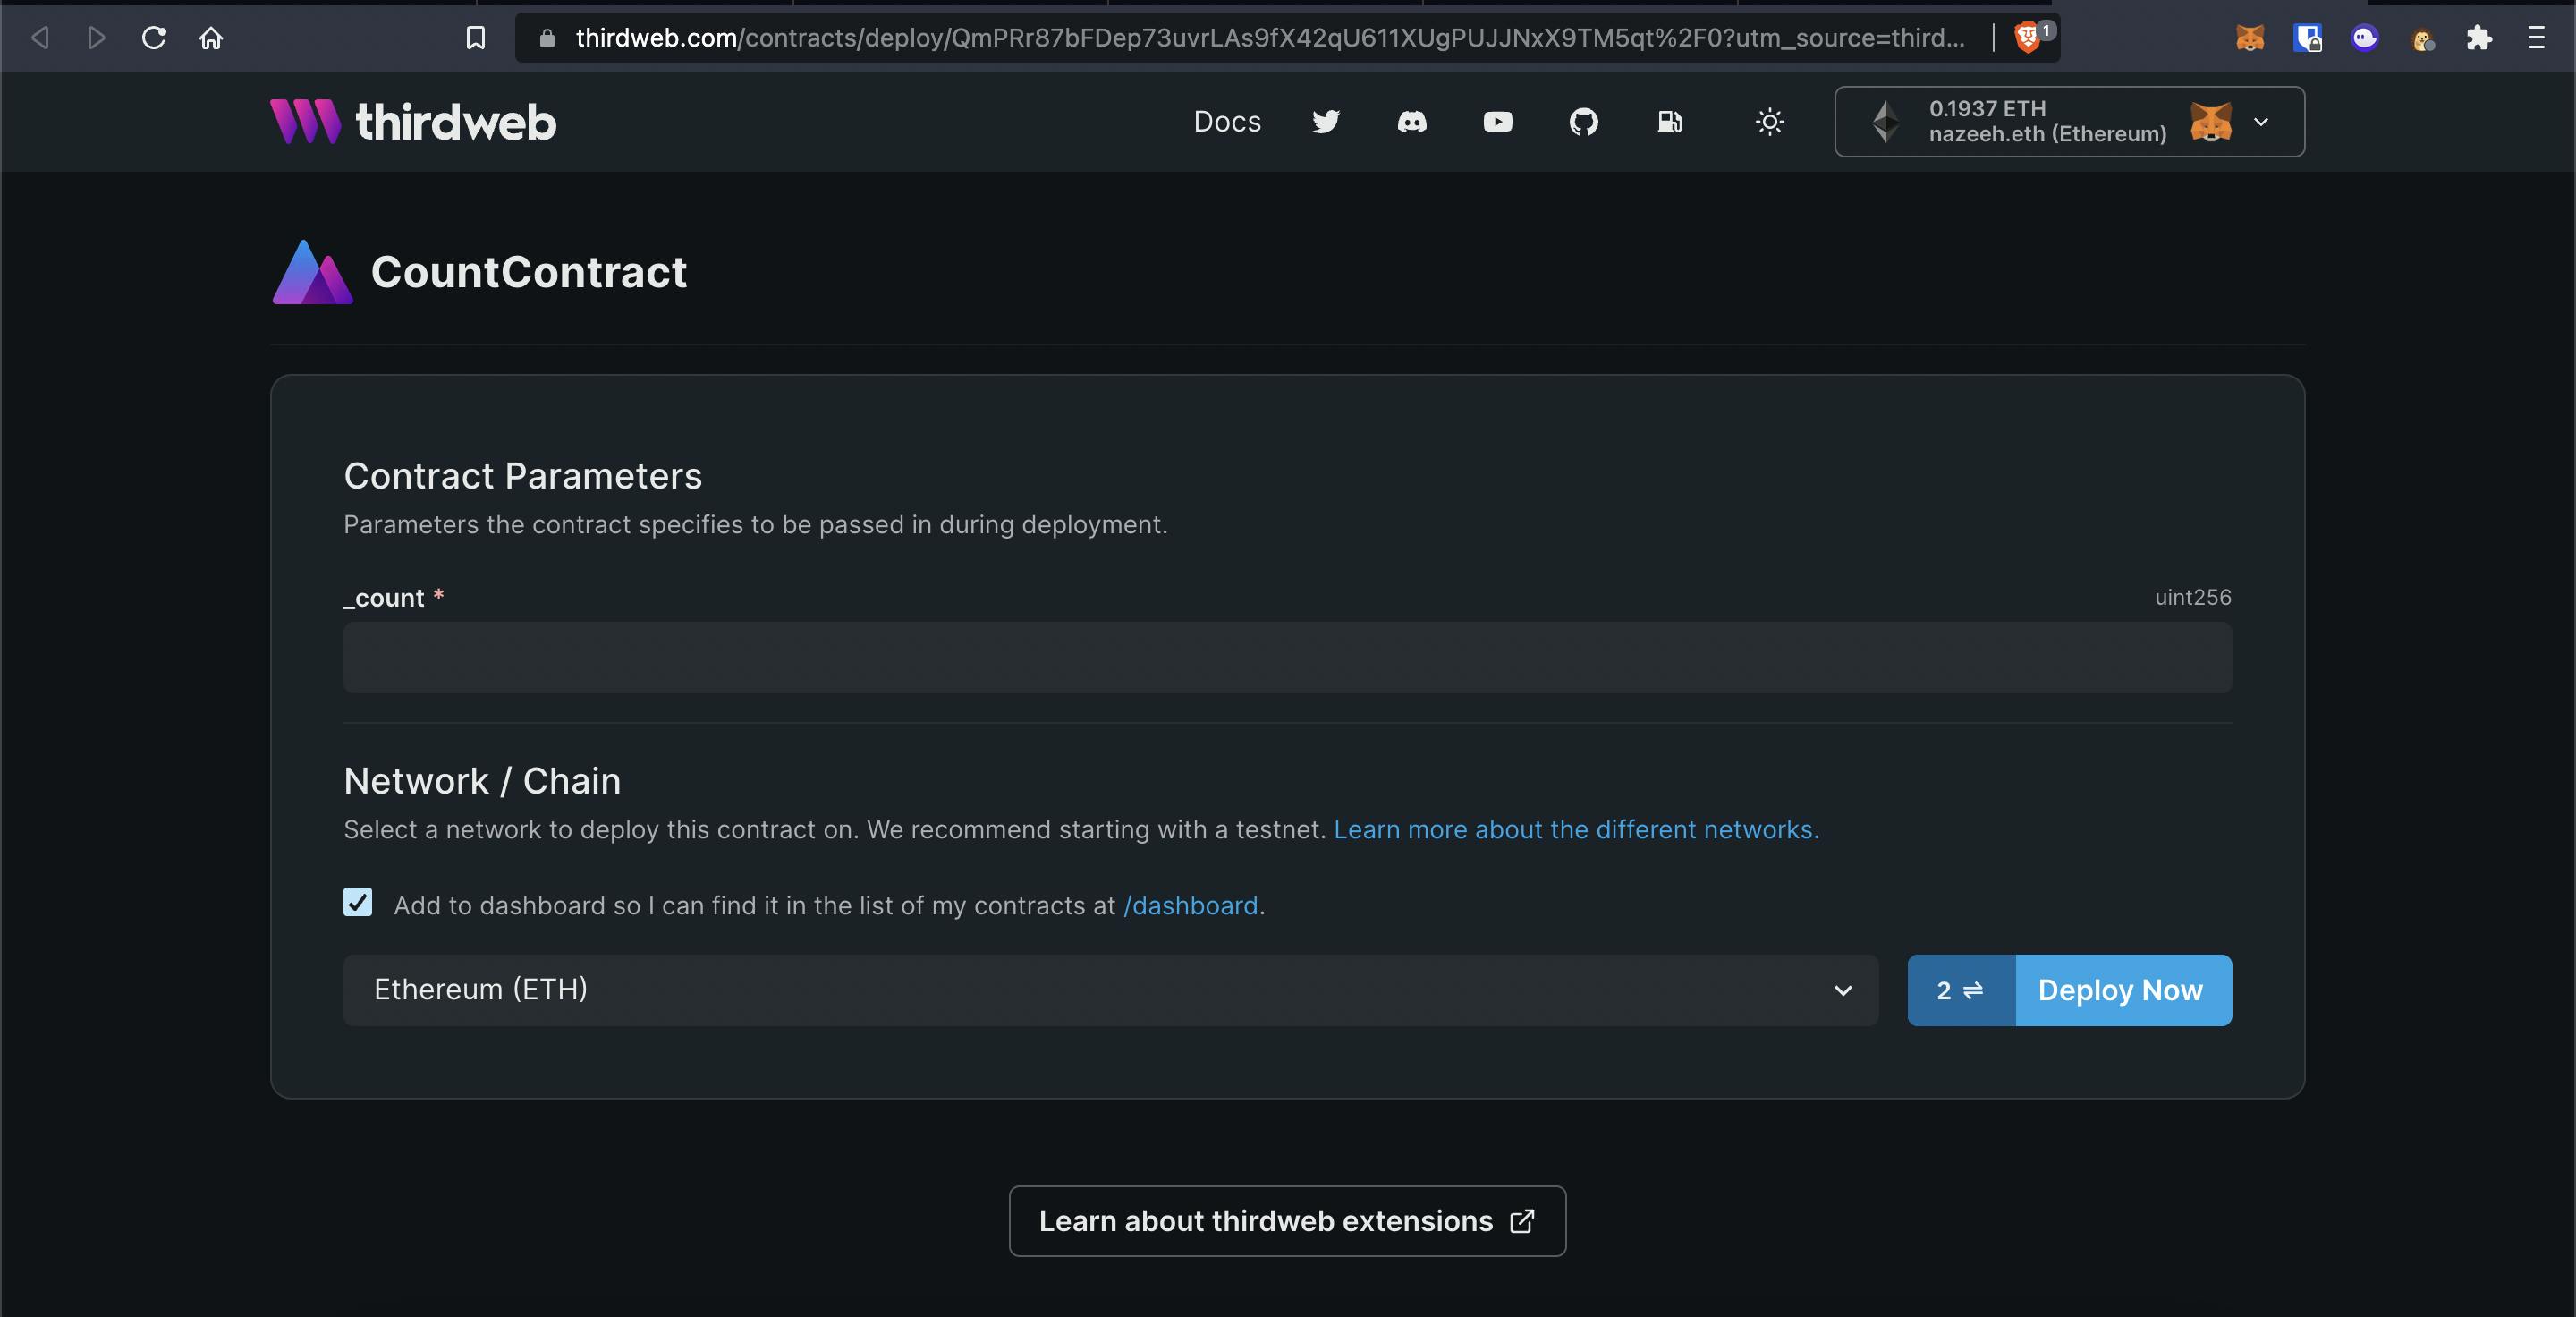
We have to pass the initial count parameter as we have required it in our constructor. Pass any number of your choice and select []Rinkeby from the Network dropdown. Connect your wallet to the thirdweb dashboard and make sure that you are on the Rinkeby test network. Once connected, click on the Deploy Now button. This will open 2 MetaMasks popups, Confirm both the transactions. Once the transactions are executed, it'll show the dashboard as shown below.
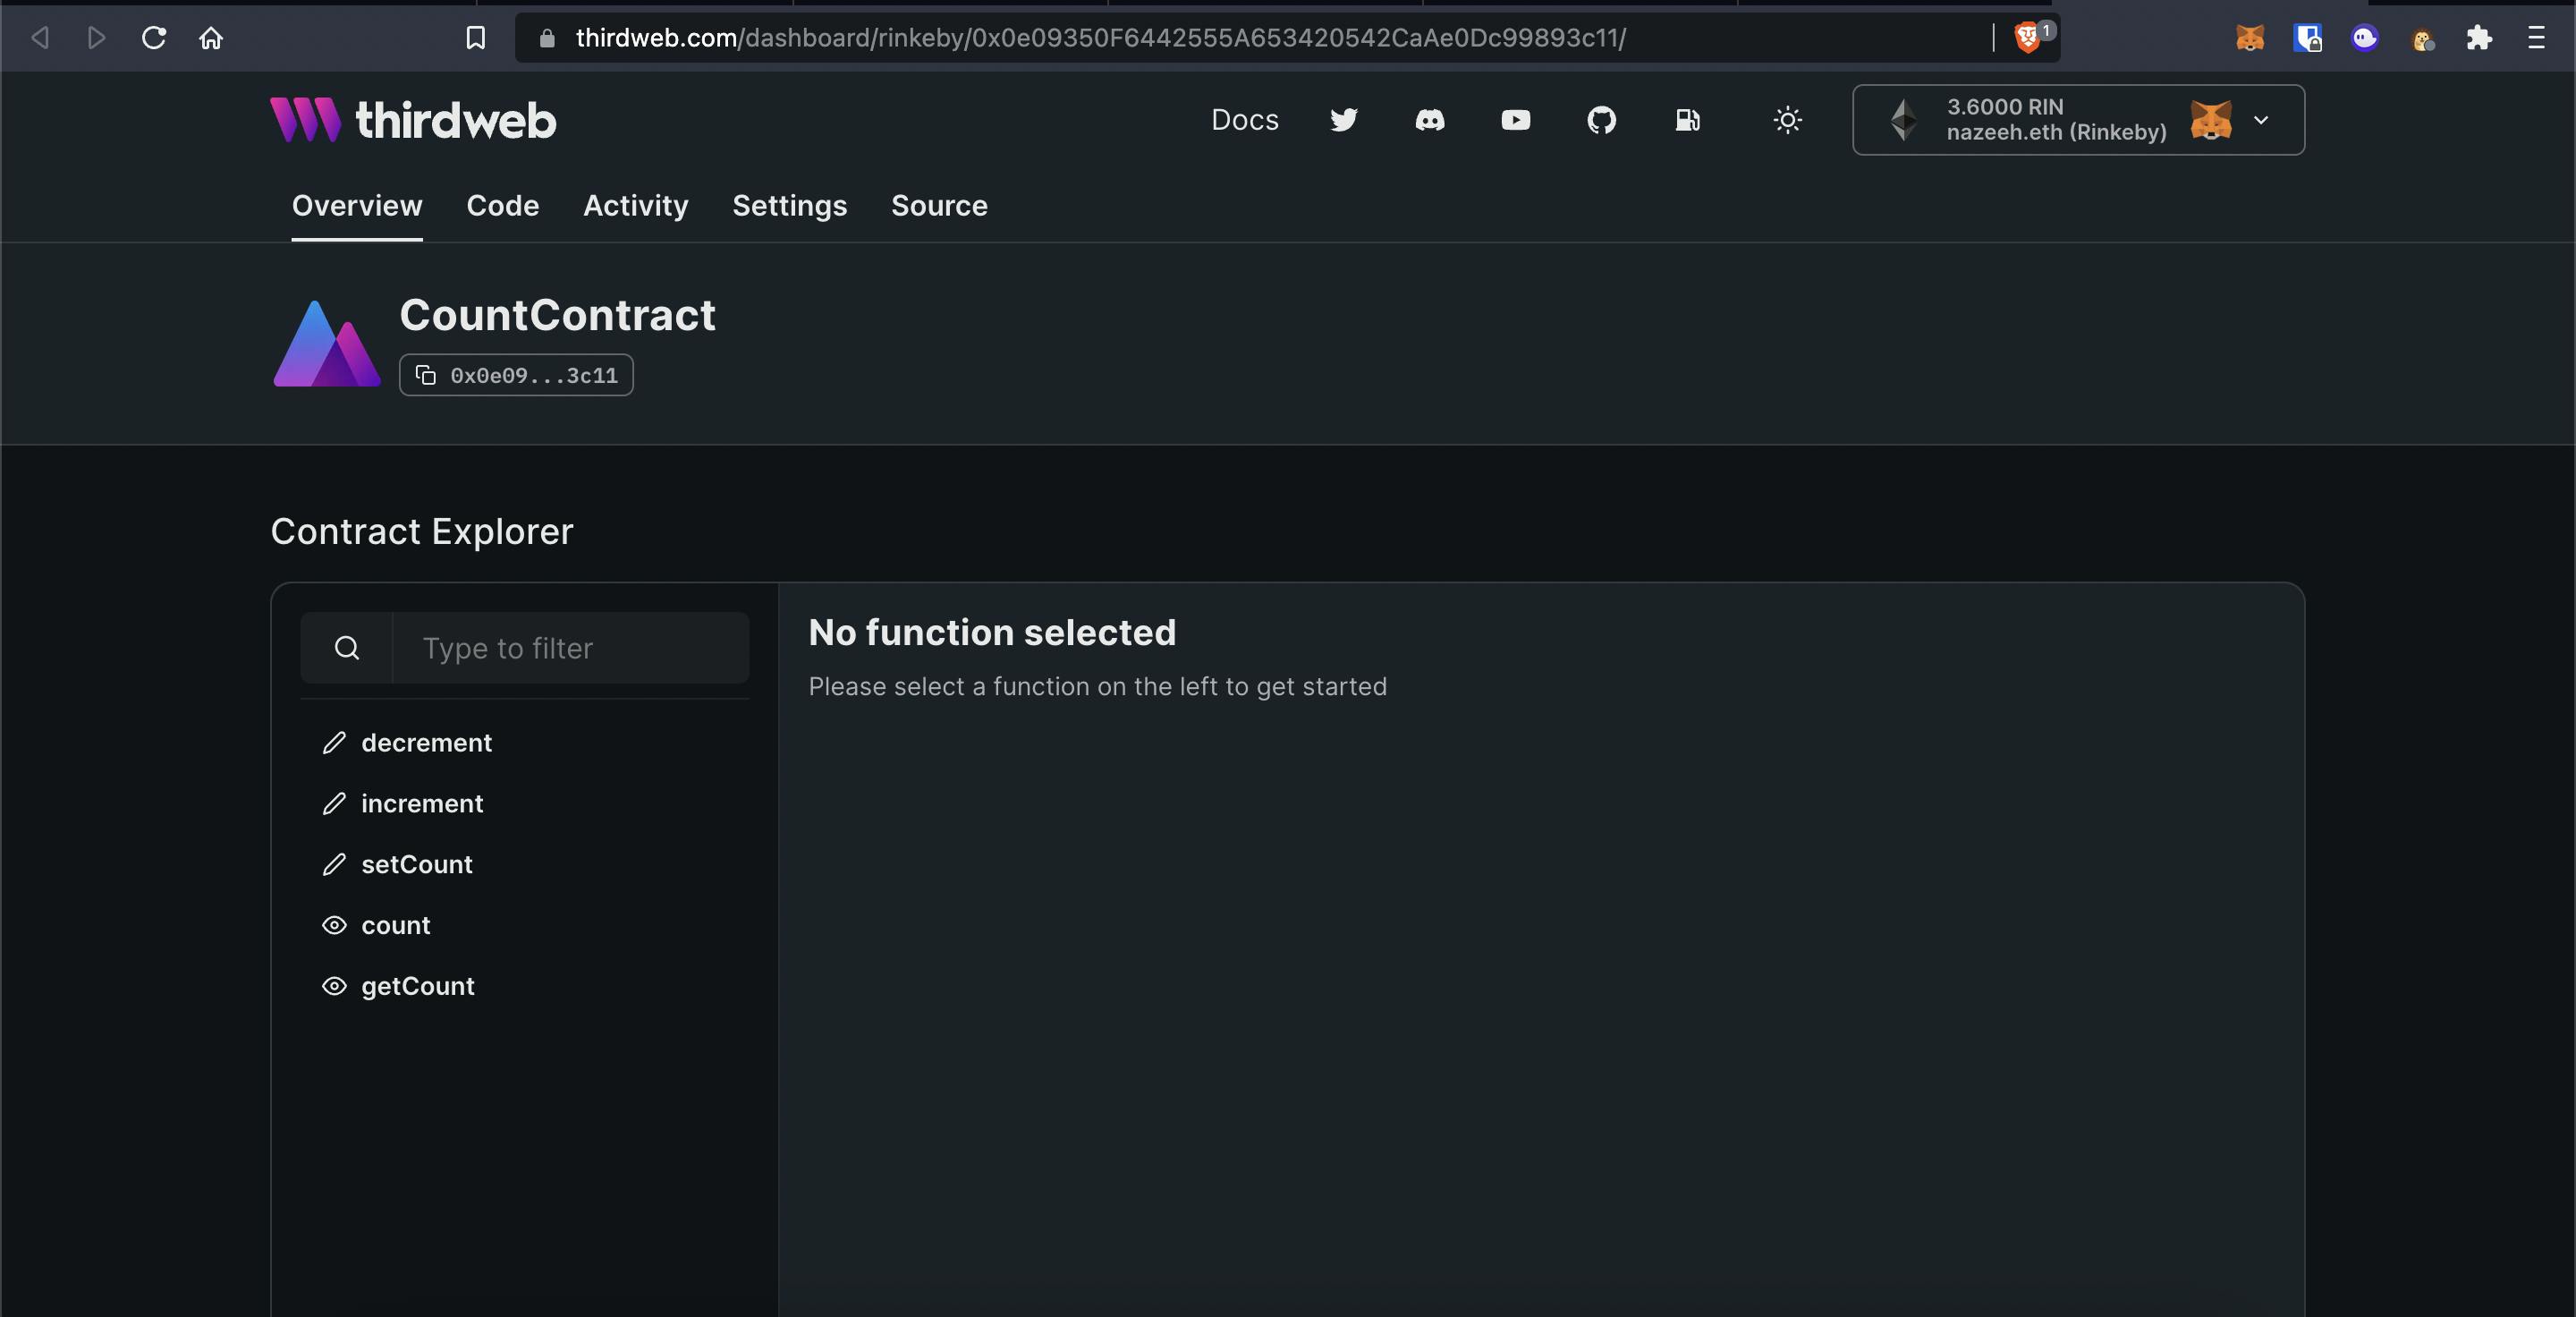
That's it! You have successfully deployed your contract without risking your private key. You can now use this dashboard to play around with your contract.